
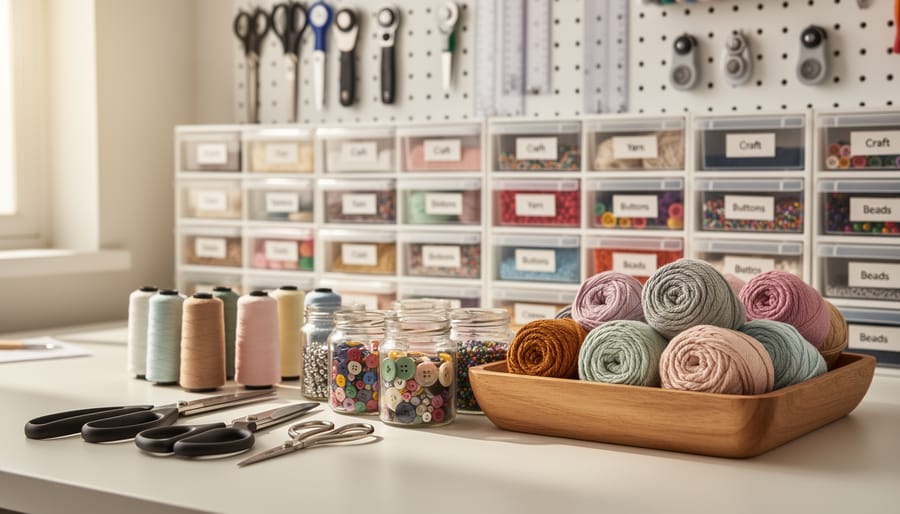
How to Organize DIY Craft Supplies for a Clutter-Free Creative Space
Organizing your craft supplies transforms chaos into creative freedom. The process takes a weekend to complete and follows three core principles: group like materials together, store items where you use them, and keep frequently used supplies within arm’s reach. Once your system is in place, maintaining it requires just ten minutes of cleanup after each crafting session.
Picture this: you’ve carved out time to work on that project you’ve been dreaming about, only to spend an hour searching for the right buttons, that partial skein of yarn, or the adhesive that worked so well last time. Your creative energy drains away before you even begin. This frustration is what every maker faces when their supplies outgrow their storage system, and it’s exactly why intentional organization becomes the foundation for sustainable creative practice.
The good news? You don’t need expensive storage systems or a dedicated craft room to build a functional setup. Most successful organization solutions use containers you already own, combined with strategic placement based on how you actually work. The real secret isn’t about perfectly Pinterest-worthy shelves. It’s about creating visual access to your materials so inspiration can strike when you spot that vintage ribbon or those wooden beads you forgot you had.
This guide walks you through the complete process, from the initial sort through building zones for different craft types and implementing maintenance habits that actually stick. Whether you’re working with a small corner of your dining table or an entire studio space, these principles adapt to your available square footage and the types of crafts you love most.
What You’ll Need to Set Up Your Craft Supply Organization System
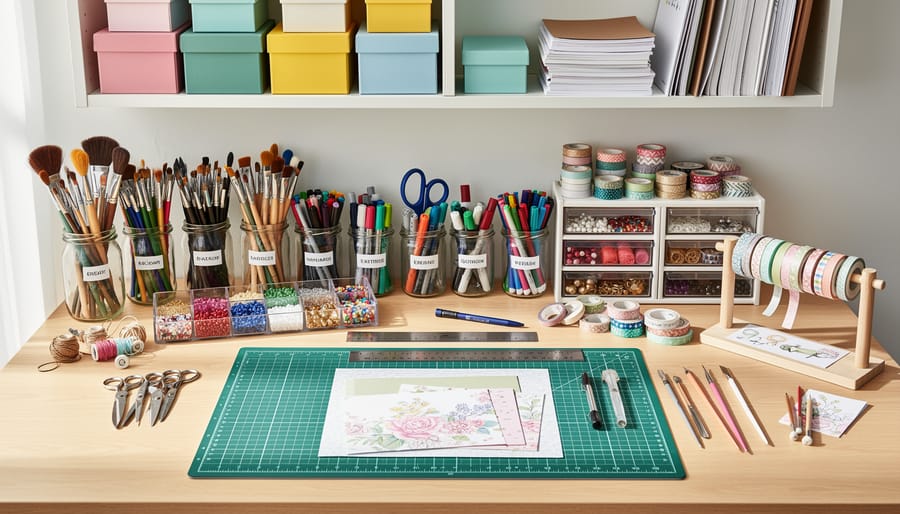
Before you tackle a single drawer or bin, gather your organizing toolkit. Having everything on hand prevents mid-project frustration and helps you maintain momentum through the sorting process. You don’t need to spend a fortune, many effective storage solutions cost little or nothing, but you do need the right mix of containers, labeling tools, and tracking methods.
Your organizational arsenal should include:
- Clear storage containers in various sizes for visibility and dust protection
- Small sorting trays or muffin tins for separating buttons, beads, and tiny notions
- A label maker or quality markers and masking tape for clear identification
- Drawer dividers or small boxes for subdividing larger storage areas
- Stackable bins or shelving units to maximize vertical space
- Zip-top bags in multiple sizes for grouping similar items
- A notebook or smartphone for inventory tracking as you sort
- Cleaning supplies to wipe down containers and surfaces
The key is matching containers to what you’re storing. Clear plastic works beautifully for items you need to identify at a glance, like fabric scraps or yarn skeins. Opaque bins suit supplies you recognize by location rather than sight. For crafters working with multiple media, uniform containers create visual calm even when you’re storing wildly different materials.
Don’t rush out to buy everything at once. Start with basic clear bins and repurpose what you already own, mason jars for paintbrushes, shoe boxes for paper scraps, egg cartons for embellishments. As you sort, you’ll discover your actual storage needs rather than guessing what might work.
If you’re managing an extensive collection, consider digital help. Several craft inventory apps launched in 2026 let you photograph supplies and track quantities on your phone, though a simple spreadsheet works just as well for most makers. Choose whatever system you’ll actually use six months from now, not the one that sounds impressive today.
Safety and Preparation Warnings Before You Begin
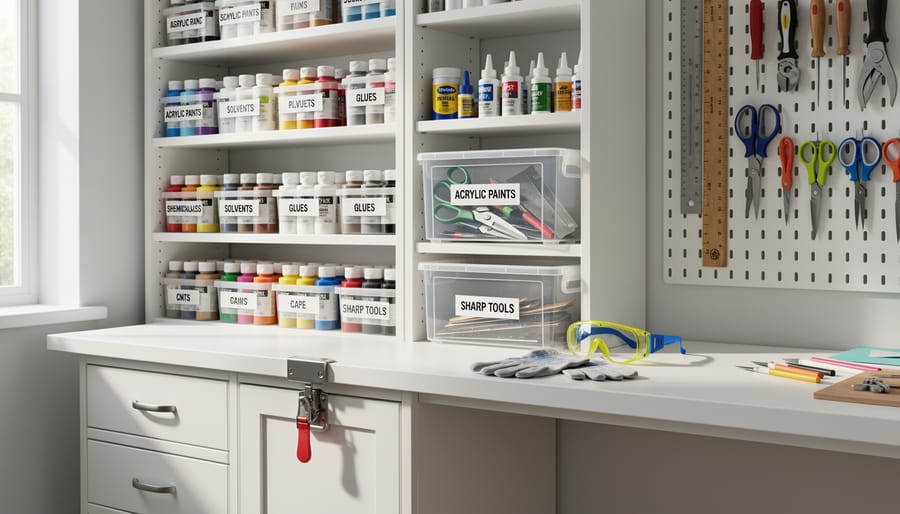
Before you pull everything out of drawers and closets, take a moment to protect yourself and your materials. Organizing craft supplies isn’t just about aesthetics, it involves handling potentially hazardous items and managing considerable weight, so a few smart precautions will prevent accidents and preserve your precious stash.
Start by clearing a large, stable work surface at a comfortable height. You’ll be lifting boxes and bins repeatedly, so keep proper form in mind, bend at the knees, not the waist, especially when moving heavier containers filled with things like fabric bolts or jars of buttons. If you’re installing new shelving, pay attention to weight ratings. That gorgeous floating shelf might look perfect, but overloading it with glass jars full of beads creates a genuine safety hazard.
Handle sharp tools with care during the sorting process. Rotary cutters, craft knives, and scissors can easily slice through cardboard boxes or your hand if you’re digging around carelessly. Consider wearing cut-resistant gloves when sorting through bins where sharp implements might be hiding.
Protect delicate or valuable materials during the transition. Lay down clean sheets or tablecloths for sorting fabrics and papers, and keep fragile embellishments in shallow containers rather than dumping them into piles. Vintage trims, handmade papers, and sentimental supplies deserve gentle handling, you’re reorganizing to honor your creativity, not damage the materials that fuel it.
Step-by-Step: Creating Your Organized Craft Supply System
Step 1: Empty and Sort Everything by Category
Pull everything out of drawers, bins, closets, and those mysterious bags shoved under your worktable. Yes, everything. This feels overwhelming at first, but seeing your complete inventory is the only way to understand what you’re actually working with.
As you empty each storage area, create broad category piles on the floor or a large table. Start with obvious groups: fabrics in one area, paints and brushes together, paper goods separate from embellishments, cutting tools away from adhesives. Don’t overthink the categories yet. You’re creating rough neighborhoods, not perfect filing systems.
You’ll rediscover supplies you forgot you owned. That happens to every crafter. As you sort, place items you haven’t touched in over two years in a separate “maybe” pile. If you can’t remember buying something or why you needed it, that’s useful information.
Here’s the reality: many of us hold onto materials “just in case” or because we spent money on them. That half-empty bottle of fabric paint from 2019? The embroidery floss in colors you never use? Give yourself permission to release these items. They’re blocking space for supplies that actually serve your current creative practice.
Sort first, decide later. Right now you’re simply creating visible categories that reveal patterns in what you own.
Step 2: Declutter and Assess Your True Inventory
Once everything’s sorted into categories, it’s time for the hardest part: deciding what actually earns a place in your creative space.
Start with a simple three-question test for each item. When did you last use it? Is it in usable condition? Does it fit your current creative direction? If you haven’t touched those scrapbook stickers in three years and you’ve moved entirely into fiber arts, they’re taking up space that could serve your actual work.
Sarah Martinez, a mixed-media artist in Portland, faced this moment in 2023. “I had bins of rubber stamps I’d collected for ten years,” she says. “Sorting forced me to admit I hadn’t stamped anything since 2019. Donating them to a local school freed up an entire shelf, and underneath I found handmade paper I’d completely forgotten existed. That paper became the foundation for my next series.”
Be honest about damaged supplies. Dried-out markers, rusty scissors, and fabric with permanent creases won’t magically fix themselves. Let them go.
Create three piles: keep and use regularly, keep but store elsewhere for occasional projects, and donate or discard. Your daily workspace should hold only what supports your current creative practice, not every possibility you might explore someday.
Step 3: Choose Storage Solutions That Match Your Supplies
Not every craft supply deserves the same storage approach. A bin that works beautifully for yarn will frustrate you when you’re hunting for the perfect button.
Match your containers to how you actually use each supply type. Fabrics need breathable storage to prevent mustiness, consider open shelving or fabric bins rather than airtight plastic. Paints and liquid supplies do best in clear, stable containers where you can see colors at a glance without unscrewing lids. Small notions like beads, buttons, and findings need compartmentalized storage; tackle boxes, bead organizers, or even repurposed ice cube trays keep these tiny treasures from becoming a jumbled mess.
Clear containers win for most supplies because you see what you have without opening everything. But they’re not mandatory, you can achieve the same visibility with well-labeled opaque bins if that’s what you already own.
Think vertically. Pegboards hold scissors and tools within arm’s reach. Stacking drawer units maximize floor space. Wall-mounted shelves keep frequently-used supplies accessible while freeing up your work surface.
Budget-friendly doesn’t mean flimsy. Check thrift stores for vintage drawer units, use mason jars for brushes and pencils, or repurpose shoeboxes covered in pretty paper. The best storage solution is one that fits your space, your supplies, and your actual habits.
Step 4: Assign Homes and Label Everything Clearly
With your supplies sorted and containers selected, it’s time to create homes that make sense for how you actually craft. Start with frequency, the materials you reach for weekly should live at eye level or in your most accessible drawers. Paints you use constantly? Front and center. That specialty paper you bought two years ago? Higher shelf or deeper storage.
Group items by project type rather than strict categories. One crafter I spoke with keeps all her card-making essentials in a single rolling cart: cardstock, adhesives, stamps, and embellishments together. No hunting across the room mid-project.
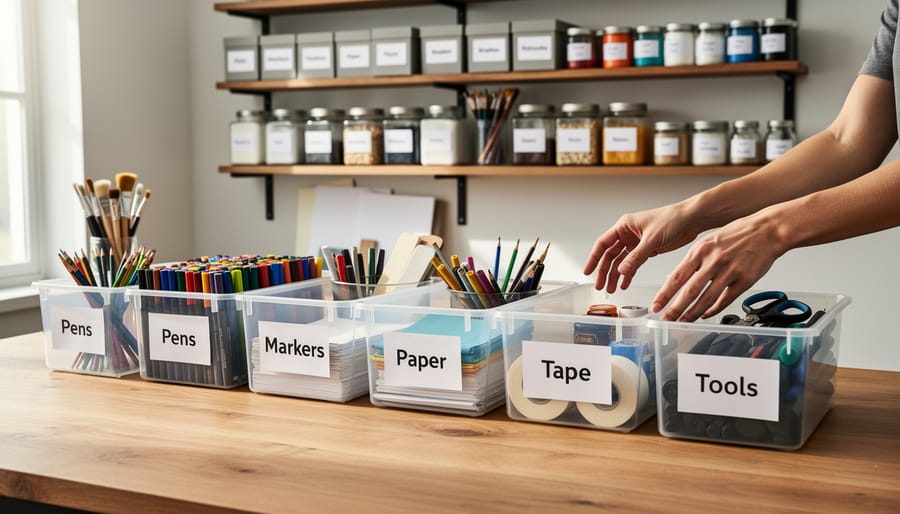
Now for labeling, which sounds boring but changes everything. Use whatever method you’ll maintain, printed labels, hand-written tags, or even photos taped to bins. For mixed supplies like buttons or ribbons, snap a quick photo of the contents and attach it to the container’s front. You’ll know exactly what’s inside without digging.
Label shelves too, not just containers. This creates visual accountability and makes it obvious when something’s out of place. A painter friend uses colored dot stickers matching her bin colors, quick visual confirmation that everything’s returned to its proper spot.
The goal isn’t perfection. It’s building a system you’ll actually use tomorrow.
Step 5: Set Up an Inventory Tracking Method
You’ve sorted, decluttered, chosen containers, and labeled everything, but without tracking what you actually own, you’ll end up buying third tubes of the same metallic paint or forgetting you have five yards of felt tucked away. A simple inventory system closes that loop.
The best tracking method is the one you’ll use consistently. Start with these approaches, from simplest to most detailed:
- Photo inventory on your phone: Snap pictures of each storage area after organizing, then review before shopping trips
- Handwritten notebook: Keep a master list by category (paints, fabrics, papers) with quick tallies you update monthly
- Basic spreadsheet: Create columns for item name, quantity, location, and “running low” checkbox, works on any device
- Craft inventory apps: Try 2026 options like CraftKeeper or Supply Stash that let you scan barcodes and set reorder alerts
- Hybrid system: Photograph your bins and keep a short written list of expensive or frequently-depleted supplies only
Most crafters succeed with photo inventories or simple spreadsheets because they require minimal upkeep. Apps work beautifully if you enjoy tech and have diverse supplies, but don’t feel pressured to overcomplicate things.
Update your chosen system whenever you finish a project or bring new supplies home. Spend five minutes each month scanning your list, it prevents the “I thought I had more of that” moments mid-project and helps you spot what you’re actually using versus hoarding.
How to Know Your System Is Working (and What to Do Next)
Your organization system isn’t about achieving magazine-perfect shelves, it’s about supporting your actual creative practice. A functional system proves itself through daily use, not through how it looks in photos.
Test your setup with these practical benchmarks. Can you locate any supply you need within 30 seconds, even when you’re eager to start a project? When you sit down to craft, do you pull out exactly what you need without digging through three containers first? Before shopping for supplies, can you confidently name what you already own in that category? If you answered yes to these questions, your system is working.
The feel of your space matters as much as the function. Walk into your craft area right now. Does it invite you to create, or does it trigger guilt about the mess? A working system makes you want to spend time there. You should feel energized, not overwhelmed, when you enter.
Maintenance keeps your system functional long-term. Schedule a 15-minute quarterly review where you return supplies to their homes, update your inventory list, and honestly assess what’s working. During these check-ins, ask yourself which supplies you’ve reached for repeatedly and which have sat untouched. Move frequently-used items closer and consider releasing supplies that no longer serve your current projects.
When new supplies enter your space, add them to their designated homes immediately, not “temporarily” on your work table. That temporary pile becomes permanent clutter faster than you’d believe. If a new supply doesn’t fit your existing categories, that’s your signal to evaluate whether your system needs a small adjustment or whether you’re accumulating materials beyond your actual creative focus.
Common Pitfalls and How to Avoid Them
Most crafters rush out to buy matching containers before they’ve sorted a single item. It’s tempting, those color-coordinated bins look amazing online, but you’ll inevitably purchase the wrong sizes or quantities. You might buy shallow containers when you need deep ones for yarn, or grab twenty small boxes when three large ones would serve better. Sort everything first, measure your actual inventory, then shop with specific dimensions and quantities in mind.
Another common trap is designing Pinterest-perfect systems that require fifteen steps to access basic supplies. One maker I know created such an elaborate color-coded filing system for her paper collection that she stopped using it within two weeks and went back to piles. Your organization should remove friction, not add it. If retrieving fabric scraps feels like solving a puzzle, you’ll abandon the system when inspiration strikes.
Crafters also consistently ignore vertical space, leaving walls bare while floor storage overflows. Wall-mounted pegboards, floating shelves, and over-door organizers multiply your storage capacity without consuming more floor area, crucial for small spaces. Even dead space above doorways can hold lightweight supplies in shallow baskets.
The biggest long-term mistake? Creating rigid systems that can’t evolve. Your creative focus will shift, you might move from jewelry-making to quilting, or add resin work to your repertoire. Build flexibility into your storage so categories can expand, contract, and transform without requiring complete reorganization. Leave empty bins, adjustable shelving, and modular containers that adapt as your artistic journey changes direction.
Frequently Asked Questions About DIY Craft Supply Organization
How do I organize craft supplies in a tiny apartment with no dedicated craft room?
Think vertical and multi-functional. Use wall-mounted pegboards, over-the-door organizers, and rolling carts that tuck under tables. Store supplies in labeled containers that stack neatly in closets, and keep your current project in a portable caddy that moves with you from the dining table to the couch.
What’s the best way to organize when I do multiple crafts like knitting, painting, and jewelry-making?
Create distinct zones or containers for each craft type, so you’re not digging through paint tubes to find your wire cutters. Within each zone, group by function rather than color, all adhesives together, all cutting tools together. This prevents you from buying duplicate scissors because you forgot about the pair buried in your knitting basket.
Should I organize seasonal craft supplies separately?
Yes, but keep them accessible. Store holiday-specific materials in clearly labeled bins on higher shelves, rotating them down when their season approaches. This frees up prime workspace for year-round supplies and prevents your Halloween ribbon from tangling with your everyday fabric stash.
How can I reorganize without abandoning my half-finished projects?
Designate a holding zone for works-in-progress with everything you need for each project bagged together. Organize the rest of your supplies around these active projects, so you’re not constantly unpacking and repacking. Once a project wraps up, return its supplies to their permanent homes immediately.
What if I organize everything and then start a completely different craft?
Build flexibility into your system from the start. Use modular containers and adjustable shelving that adapts when you shift from crochet blanket patterns to making a DIY phone case or experimenting with a phone case with charms. Leave 20 percent of your storage empty for new interests, creative evolution is part of the maker’s journey.
The truth is, no organizational system stays perfect forever. Your creative interests shift, new supplies arrive, and life happens. What matters is creating a foundation that bends without breaking. When you notice supplies creeping back into chaos, don’t beat yourself up, just do a quick ten-minute reset. Put away what migrated, toss dried-out markers, and remind yourself why you organized in the first place: to spend more time creating and less time hunting for that one specific button you know is somewhere in this pile.
Organizing your craft supplies isn’t about achieving Instagram-perfect storage that intimidates you every time you need materials. It’s about creating a system that actually serves your creative practice. When you can locate your supplies quickly and see what you have at a glance, you spend more time making and less time searching through boxes or rebuying items you already own.
Start with just one category this week. Sort your fabrics or wrangle those paintbrushes. Small wins build momentum, and you’ll find yourself naturally excited to tackle the next area. Remember, your organization system should evolve with your art. As your interests shift and new projects call to you, adjust your storage accordingly.
The Elephant In The Room community celebrates makers at every stage of their journey, from conscious crafters just beginning to those who’ve turned their passion for local craftsmanship into thriving businesses. Share your organizational victories, ask questions, and discover how other artists have transformed their creative spaces into places that truly inspire.