
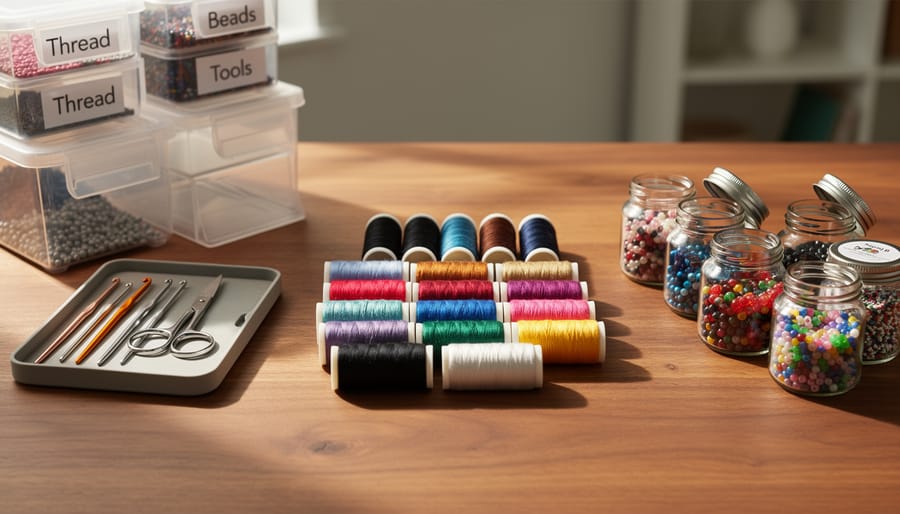
How to Organize Your Craft Supplies So You Actually Want to Use Them
Organizing your craft supplies takes about a weekend and a handful of free or cheap containers: empty everything out, sort it by how you actually work, give each group a labeled home, and keep your most-used items within arm’s reach. That’s the whole method. It works because a craft stash only gets out of control when supplies live in too many places and nothing has a defined spot, so the fix is fewer places and clear homes, not more storage.
Most of us start the same way. A few spools of thread, a bag of beads from a market stall, a gift box of yarn from an aunt. Then one day you’re hunting for a single crochet hook under three bins and a stack of fabric scraps, and the project that excited you an hour ago feels like a chore. If you hope to sell what you make, the cost is bigger. Time spent searching is time not spent making, and buying duplicates of things you already own quietly eats your profit.
You don’t need a dedicated studio or a big budget. Shoeboxes, jars, a pegboard, and a few good labels handle most of it, and the old ways of keeping a tidy work basket still hold up. This guide walks you through what to gather, a few safety basics, the steps in order, and a simple way to check that your system works.
Why a Tidy Craft Space Makes You More Creative (and More Profitable)
Maya sells hand-dyed tote bags and embroidered patches from a spare bedroom, and for a while she was quietly losing money. She’d order another spool of black thread because the first one had vanished into a drawer somewhere. She bought a third pair of fabric scissors because she couldn’t find the other two. Worse, she missed two order deadlines in one month, simply because she spent half of each afternoon hunting for supplies.
So one weekend she emptied every shelf, sorted by craft, and gave each group a labeled home. Within a few weeks, she told me, her production time dropped and her spending on duplicates basically stopped.
That’s not luck. Research on how inventory management boosts productivity holds just as true for a small studio as a big business. When you know what you own, you reorder only what you need, and you start each project ready to go. If you’re hoping to turn craft into a business this habit pays for itself quickly.
A tidy space also helps when it’s time to sell. Clear surfaces and a clean backdrop make photographing finished pieces so much easier, and good photos sell handmade work online.
None of this requires reinventing the wheel. Sewing baskets, old tin boxes, and pegboards have kept crafters organized for generations because they work. Borrow them freely.
What You’ll Need: Tools and Materials for Your Craft Storage Setup
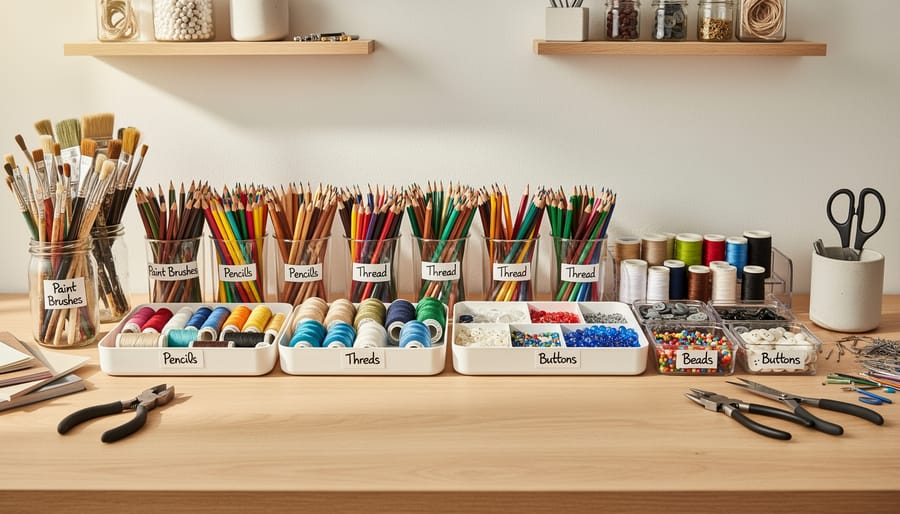
Containers That Work for Different Supplies
Fabric and paper do best in clear, stackable boxes. You can see what’s inside without opening every lid, and the lids keep out dust and sunlight, which fades both. Flat paper stores best in shallow bins or under-bed boxes, while fabric folded into rectangles stands upright like files.
Small round things, like buttons, beads, and sequins, belong in jars. A mason jar on a shelf doubles as a color display, and you’ll be surprised how much faster you choose a button when you can see them all at once. Baby food jars and old candle jars work just as well.
For tiny findings such as clasps, jump rings, earring backs, and pins, a tackle box with adjustable dividers is hard to beat. Fishing departments and thrift stores usually carry them cheaply. Shoebox lids make decent sorting trays when you’re in the middle of a project.
Yarn likes breathing room. Tall crates, open baskets, or sturdy cardboard tubes keep skeins from tangling and let you pull from the top. Skip airtight bins for natural fibers if there’s any chance of dampness.
Brushes, scissors, and pens want to stand upright. Mugs, tin cans, and cutlery trays all do the job. An old spice rack on the wall turns into a perfect shelf for small paint pots and glue bottles, and it costs next to nothing.
Labeling and Zoning Supplies
Labels are what turn a pile of tidy boxes into a system you can actually trust. You don’t need anything fancy. A strip of masking tape and a permanent marker works beautifully, and you can peel it off when your needs change. A label maker gives you crisp, uniform labels if you like that look, and it’s handy for shop supplies you’ll reach for daily. Color coding is another easy trick: green lids for paper crafts, blue for sewing, red for anything that needs careful handling. Put the label on the front and the top of each container so you can read it whether it’s stacked or on a shelf.
Now for the word you’ll see a lot: zoning. It simply means giving each type of supply its own spot, so everything has a home to return to. Think of how a sewing basket keeps thread, needles, and scissors together, only on a bigger scale. Your painting supplies live in one area, your yarn in another, your cutting tools in a third. When you finish a project, nothing gets tossed in the nearest drawer. It goes back to its zone.
Start with just two or three zones, and let them grow with your craft.
Before You Start: Safety Warnings for Storing Craft Supplies
A clutter-free creative space is only worth having if it’s also a safe one, so run through these checks before you buy a single bin. For a deeper look at building a clutter-free creative space that guide pairs nicely with what follows.
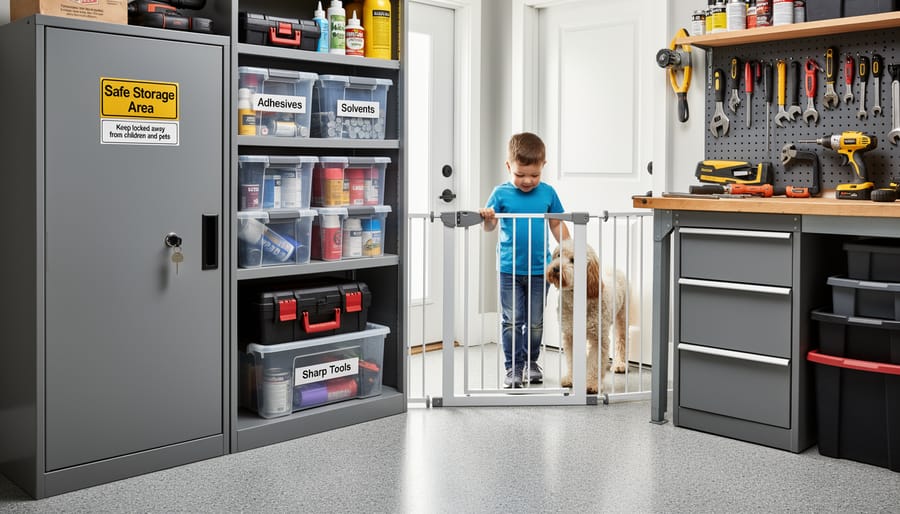
Start with the products that can hurt you. Adhesives, solvents, resin, paints, and aerosol cans belong somewhere cool, away from sunny windows and heaters, and well out of reach of children and pets. Read the storage instructions on each label too. Some glues and paints are ruined by freezing, and others need a tightly sealed lid.
Sharp tools deserve their own homes. Keep blades, needles, and scissors in covered holders, a pin cushion with a lid, or a fastened roll, so nobody reaches into a drawer and finds them the hard way.
Next, think about weight and fire. Don’t overload shelves, and anchor any tall unit to the wall so it can’t tip. Keep flammable materials away from heaters and outlets.
Before fabric, paper, or wood goes into storage, check it for mold or moisture. One damp skein of yarn can spoil a whole box.
Finally, know your stop signs. If a container is leaking, bulging, or smells strongly, deal with it before you carry on. Seal it, move it outside if needed, and clean the spot properly. Sorting can wait ten minutes.
How to Organize Your Craft Supplies, Step by Step
Sorting and Deciding What to Keep
Start by pulling everything out and laying it on a big surface, like a bed or a clean floor. Yes, all of it. Seeing the whole pile is the only way to know what you actually own.
Now sort into piles by craft first (sewing, paper, painting, jewelry), then by material within each craft. If you work project by project, make a pile for each active project instead. Pick whichever matches how your hands naturally reach for things.
Next comes the honest part: keep, donate, or sell. Keep what you’ve used in the last year or have a real plan for. Donate unopened supplies that no longer fit your craft, since schools, senior centers, and community art programs are always glad to get them. Sell or trade the rest. Surplus yarn, fabric, beads, and half-used kits do well in handmade marketplaces and craft swap groups, and finished-but-unsold pieces can earn their keep there too. Even a small sale puts money back toward supplies you’ll use.
Sentimental and heirloom supplies deserve a gentler hand. Grandma’s thimble collection or a tin of vintage buttons doesn’t need to justify itself by usefulness. Give these a special box or display spot, and handle fragile pieces with clean, dry hands. Keeping them safe is its own kind of organizing.
Setting Up Zones for Small Spaces and Big Studios
Start by asking where you actually craft, then build the zones around that spot.
A corner of the living room needs to look tidy when you’re done. Use a shelf unit or cabinet with closed doors on the bottom and open cubbies up top, so the work zone stays within reach and the clutter stays hidden.
A closet is a gift. Hang a pegboard or shoe organizer on the inside of the door, and use the shelves for bins you can slide out. A spare room lets you spread out: put your cutting and measuring zone near the window, and your messy zone, like paint or glue, near the door.
In a dedicated studiothink in stations: one for sewing, one for painting, one for packing orders if you sell.
In any space, go vertical. Wall shelves, hanging rails, and over-door racks free up your surfaces.
Leave one visible spot for your “project in progress,” like a tray or a shelf, so unfinished work doesn’t get buried.
One quilter I know worked at her kitchen table and packed everything away each evening. She finally bought a three-tier rolling cart, gave each tier a purpose, and now wheels her whole setup to the table in under a minute.
Organizing Tips for Specific Craft Supplies
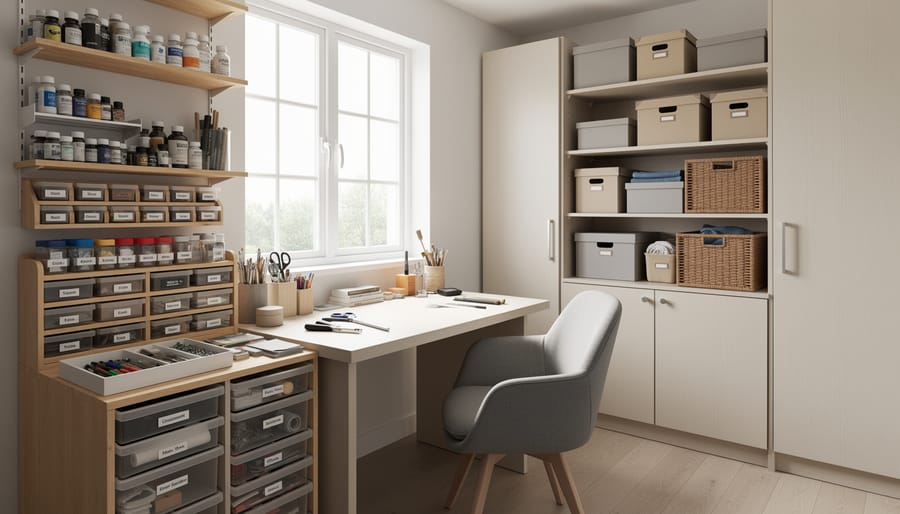
Some supplies cause more trouble than others, so here are quick fixes for the usual troublemakers.
Yarn and fiber. Keep skeins in open crates or fabric bins where you can see the colors. Store wool away from moths with cedar blocks or lavender sachets, a trick grandmothers have used for generations. Put project yarn in a zip bag with its pattern so nothing gets separated.
Fabric. Fold pieces around a comic-book board or a scrap of cardboard so they stand upright like files. You can scan the whole stack without pulling anything out. Hang long lengths on a closet rod, and keep scraps sorted by color in a bin of their own.
Beads and findings. Tackle boxes with adjustable dividers beat any fancy kit. Label each section with masking tape, and keep a small tray on your table to catch strays.
Paper, stamps, and stickers. Use vertical file holders for sheets and photo cases or binders for stickers. If you stamp or make cards, an ink pad stored upside down stays juicier longer.
Paints, glues, and tools. Group them by medium and keep them upright. A shoebox lined with a rag stops brushes from rolling. Write the opening date on a tube of paint or bottle of glue so you know what’s still good.
Digital cutting supplies. Store vinyl rolls on a dowel and keep blades in a labeled jar.
If you want a full walkthrough, this guide to craft supplies organization goes deeper. Start with whichever category frustrates you most, and the rest will feel easy by comparison.
Is Your System Working? How to Check and Keep It Going
A system only counts if it still works in the middle of a messy project. Try two quick tests. First, pick any item at random, say a particular ribbon or your fine-tip pen, and see if you can find it in under a minute. Then put it back in under a minute. If either test drags on, that zone needs a tweak, not a lecture to yourself about discipline.
Next, set a 10-minute reset once a month. Set a timer, return strays to their homes, wipe down surfaces, and toss anything dried out or broken. It’s a small habit that keeps you from facing a full overhaul later.
As your craft grows, let your zones grow with it. A weekend knitter who starts taking orders will need a packaging spot and a shelf for finished stock that didn’t exist before. Keep a simple inventory list too, even a notebook page or a phone note. Knowing what you have on hand makes it easier to quote prices, plan batches, and avoid running out mid-order, all of which matters once you’re serious about selling handmade goods.
How often should I reorganize?
A 10-minute reset each month is usually enough. Save a bigger sort for when your craft changes or a zone keeps failing the one-minute test.
What if I have very little space?
Go vertical with wall hooks, over-the-door holders, and stackable boxes. A single rolling cart can hold a whole project and tuck away when you’re done.
How do I stop buying duplicates?
Check your inventory list before you shop, and keep it on your phone. If you can’t find something in a minute, look in its zone before buying another.
Once your setup is humming, snap a photo and share it with the community. Your storage tricks might be exactly what another maker needs.
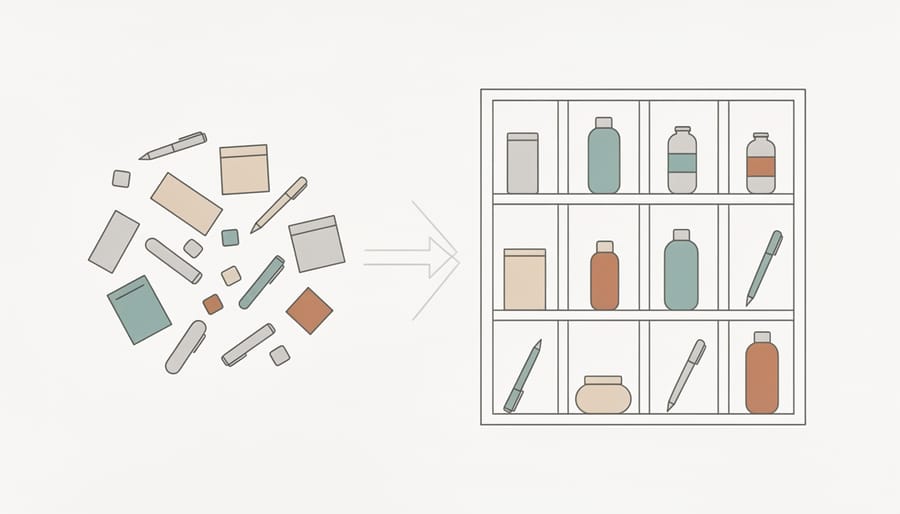
A good craft setup isn’t a showroom. It’s a system that fits the way you actually make things, which might mean a jar of buttons on the windowsill, a rolling cart parked beside the sofa, or a tackle box that follows you from room to room. If a spot works for you, it’s the right spot, no matter what anyone else’s studio looks like.
So don’t wait for a free weekend or the perfect shelving unit. Pick one drawer or one box today, sort it, label it, and give everything inside a home. That small win has a way of making the next one feel easy. Once you’ve cleared a little space, put it to use with something quick and satisfying, like this DIY phone case tutorial and notice how good it feels to find everything on the first try.
When your setup comes together, we’d love to see it. Share a photo of your finished space and your favorite storage trick with the Elephant In The Room community. Your clever idea might be exactly what another maker needs.